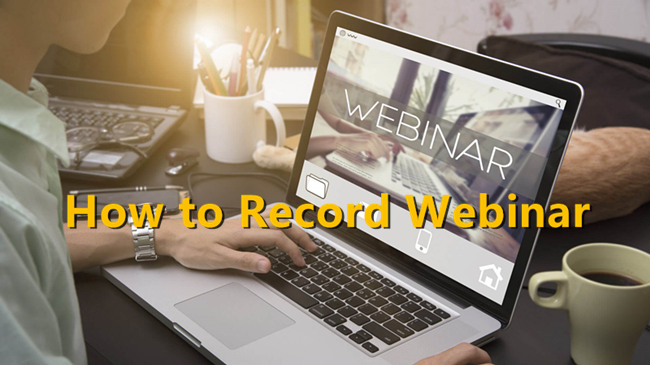
You don’t want your webinar’s livestream to be the last time someone sees or hears your presentation. If you’ve spent time and effort creating your webinar, why not record it and utilize it as a resource for future presentations? As a bonus, you may record your webinar for future reference by simply capturing your screen throughout the presentation.
Both Macs and PCs have built-in screen recording capabilities. In this blog post, we’ll show you the easy steps on how to record a webinar on Mac and Windows, how to use these built-in features, and produce a high-quality screen record for the webinar recording.
Table of Contents
Things to Consider Before Recording Webinars
Before guiding you on how to record webinars using a Mac or Windows, here are the things you should consider before doing it.
Pick a Screen Recorder
There are many powerful free screen recorder that is also affordable, and many of them work on both Mac and PC. You can even find screen recorders that don’t cost anything. Screencast-O-Matic, Screenflow, TinyTake, and SmartPixel are all popular Windows versions.
Camtasia, Movavi, and SnagIt are all popular choices for Macs. Look at what each screen recorder offers, decide if the price is right for you, and then choose which one you want to use. Don’t worry about getting a screen recorder with many bells and whistles because the task you need to do is pretty simple.
Install Your Screen Recorder (Optional)
Once you’ve chosen a screen recorder, you can download it and put it on your computer. Remember that both Macs and PCs have a simple screen recorder built in. This tool for Mac is called Quicktime player, a pretty useful media program that lets you record your screen. And for Windows, the “Game bar” has a screen recorder built in. However, this tip is optional because Mac and Windows have built-in screen recording software.
Start the Webinar Recording Process
For Mac
QuickTime makes it easy to record. First, go to File > New Screen Recording, then click the red button to start recording. Next to the record button is a dropdown menu that lets you change important settings, like the microphone you’ll be using. After clicking the record button, just click anywhere on the screen. This will record the whole screen. Drag down the cursor over the part of the screen you want to record. When you’re done, press stop.
For Windows
You can reach the Game bar by clicking the Windows icon + G or the Start menu. Once you’re in the Game bar, press the red circle button to start recording, and press it again to stop.
Edit your video
For Mac
It is easy to change things in the Quicktime interface. After you’re done recording, you can trim, split, and flip parts of your video right in the app. And if you want to make more advanced changes, you can always use iMovie.
For Windows
The Game bar recorder doesn’t let you do much editing, so you’ll need to download video editing software to change your video, which will automatically save in your Videos folder. One program we like is Lightworks. You can trim, split, and cut your video however you want in Lightworks.
Share your Webinar Videos
When you’ve made a video you’re happy with; it’s time to show it to other people. You might consider putting it on your website, sharing it on social media, or sending it to potential customers via email.
Steps on How to Record Webinars on Mac Using QuickTime Software
Follow the steps below to use QuickTime on a Mac to record a webinar.
Step 1: Get the QuickTime Software
You can download and install QuickTime on your Mac by going to its official website. After successfully setting it up, run it to start recording your webinar.
Step 2: Begin to record
Look for the File option in the top left corner of the program screen. Find the “New Screen Recording” option, click on it, and then click on it again to record the screen.
Step 3: Choose a mic and cursor
Your screen will show an icon that says “Screen Recording.” To choose the microphone and cursor option, click the arrow button next to the red icon. This is to make sure to record the webinar with audio.
Step 4: Choose a webinar video
Start recording by opening the program you want to record and clicking the red Record button. You can either click on the net to make you are recording the entire screen or drag the box around the part of the screen you want to record.
Step 5: Save the video or export it
When you are done recording your webinar clip, click the Stop button in the menu bar. You can first watch the video, then save it to your computer. To do this, click “File” again, scroll down until you see “Export,” and then choose where to save the clip.
Steps on How to Record Webinars on Windows Using EaseUS RecExperts
Step 1
Startup EaseUS RecExperts when you join the webinar. You can choose how much of the screen to record, just the webinar screen or the sound.
Step 2
Click on the lower left corner icon to choose a sound source. This recorder lets you record both the system sound and the sound from the microphone simultaneously or separately. Then finally, hit the “REC” button to start recording.
Step 3
While you are recording, a small toolbar will appear. Click the red “Stop” button to save the video clip to your computer once you have all the necessary content. If you need to stop recording for a while, you can use the “Pause” button next to “Stop.” You can also take a screenshot or set up a task to record something.
Step 4
When the recording is done, a media player window will pop up, and you can look at the video you just took and trim it. It also lets you take the audio from a video and add a beginning and end.
(Optional) Step 5:
Click the “Task Scheduler” button on the main interface and change the settings if you want to record the webinar more than once. It will help you start recording without having to do anything.
Bottom line:
All done! You now know how to record a Mac or Windows screen webinar. Screencasting is a great way to share information with others, whether for a work presentation or an online class. So how was it? Does it help you a lot? Let me know in the comment section!